
Using Raspberry Pi for Mobile Proxies: A Comprehensive Guide
In the digital age, having control over your internet connection and online presence is more crucial than ever. Mobile proxies provide a unique solution for anonymity while browsing, scraping data, or performing various online tasks. Enter the Raspberry Pi, a versatile mini-computer that can transform your internet activity. This article explores how to use Raspberry Pi as mobile proxies, offering a blend of affordability, versatility, and efficiency.

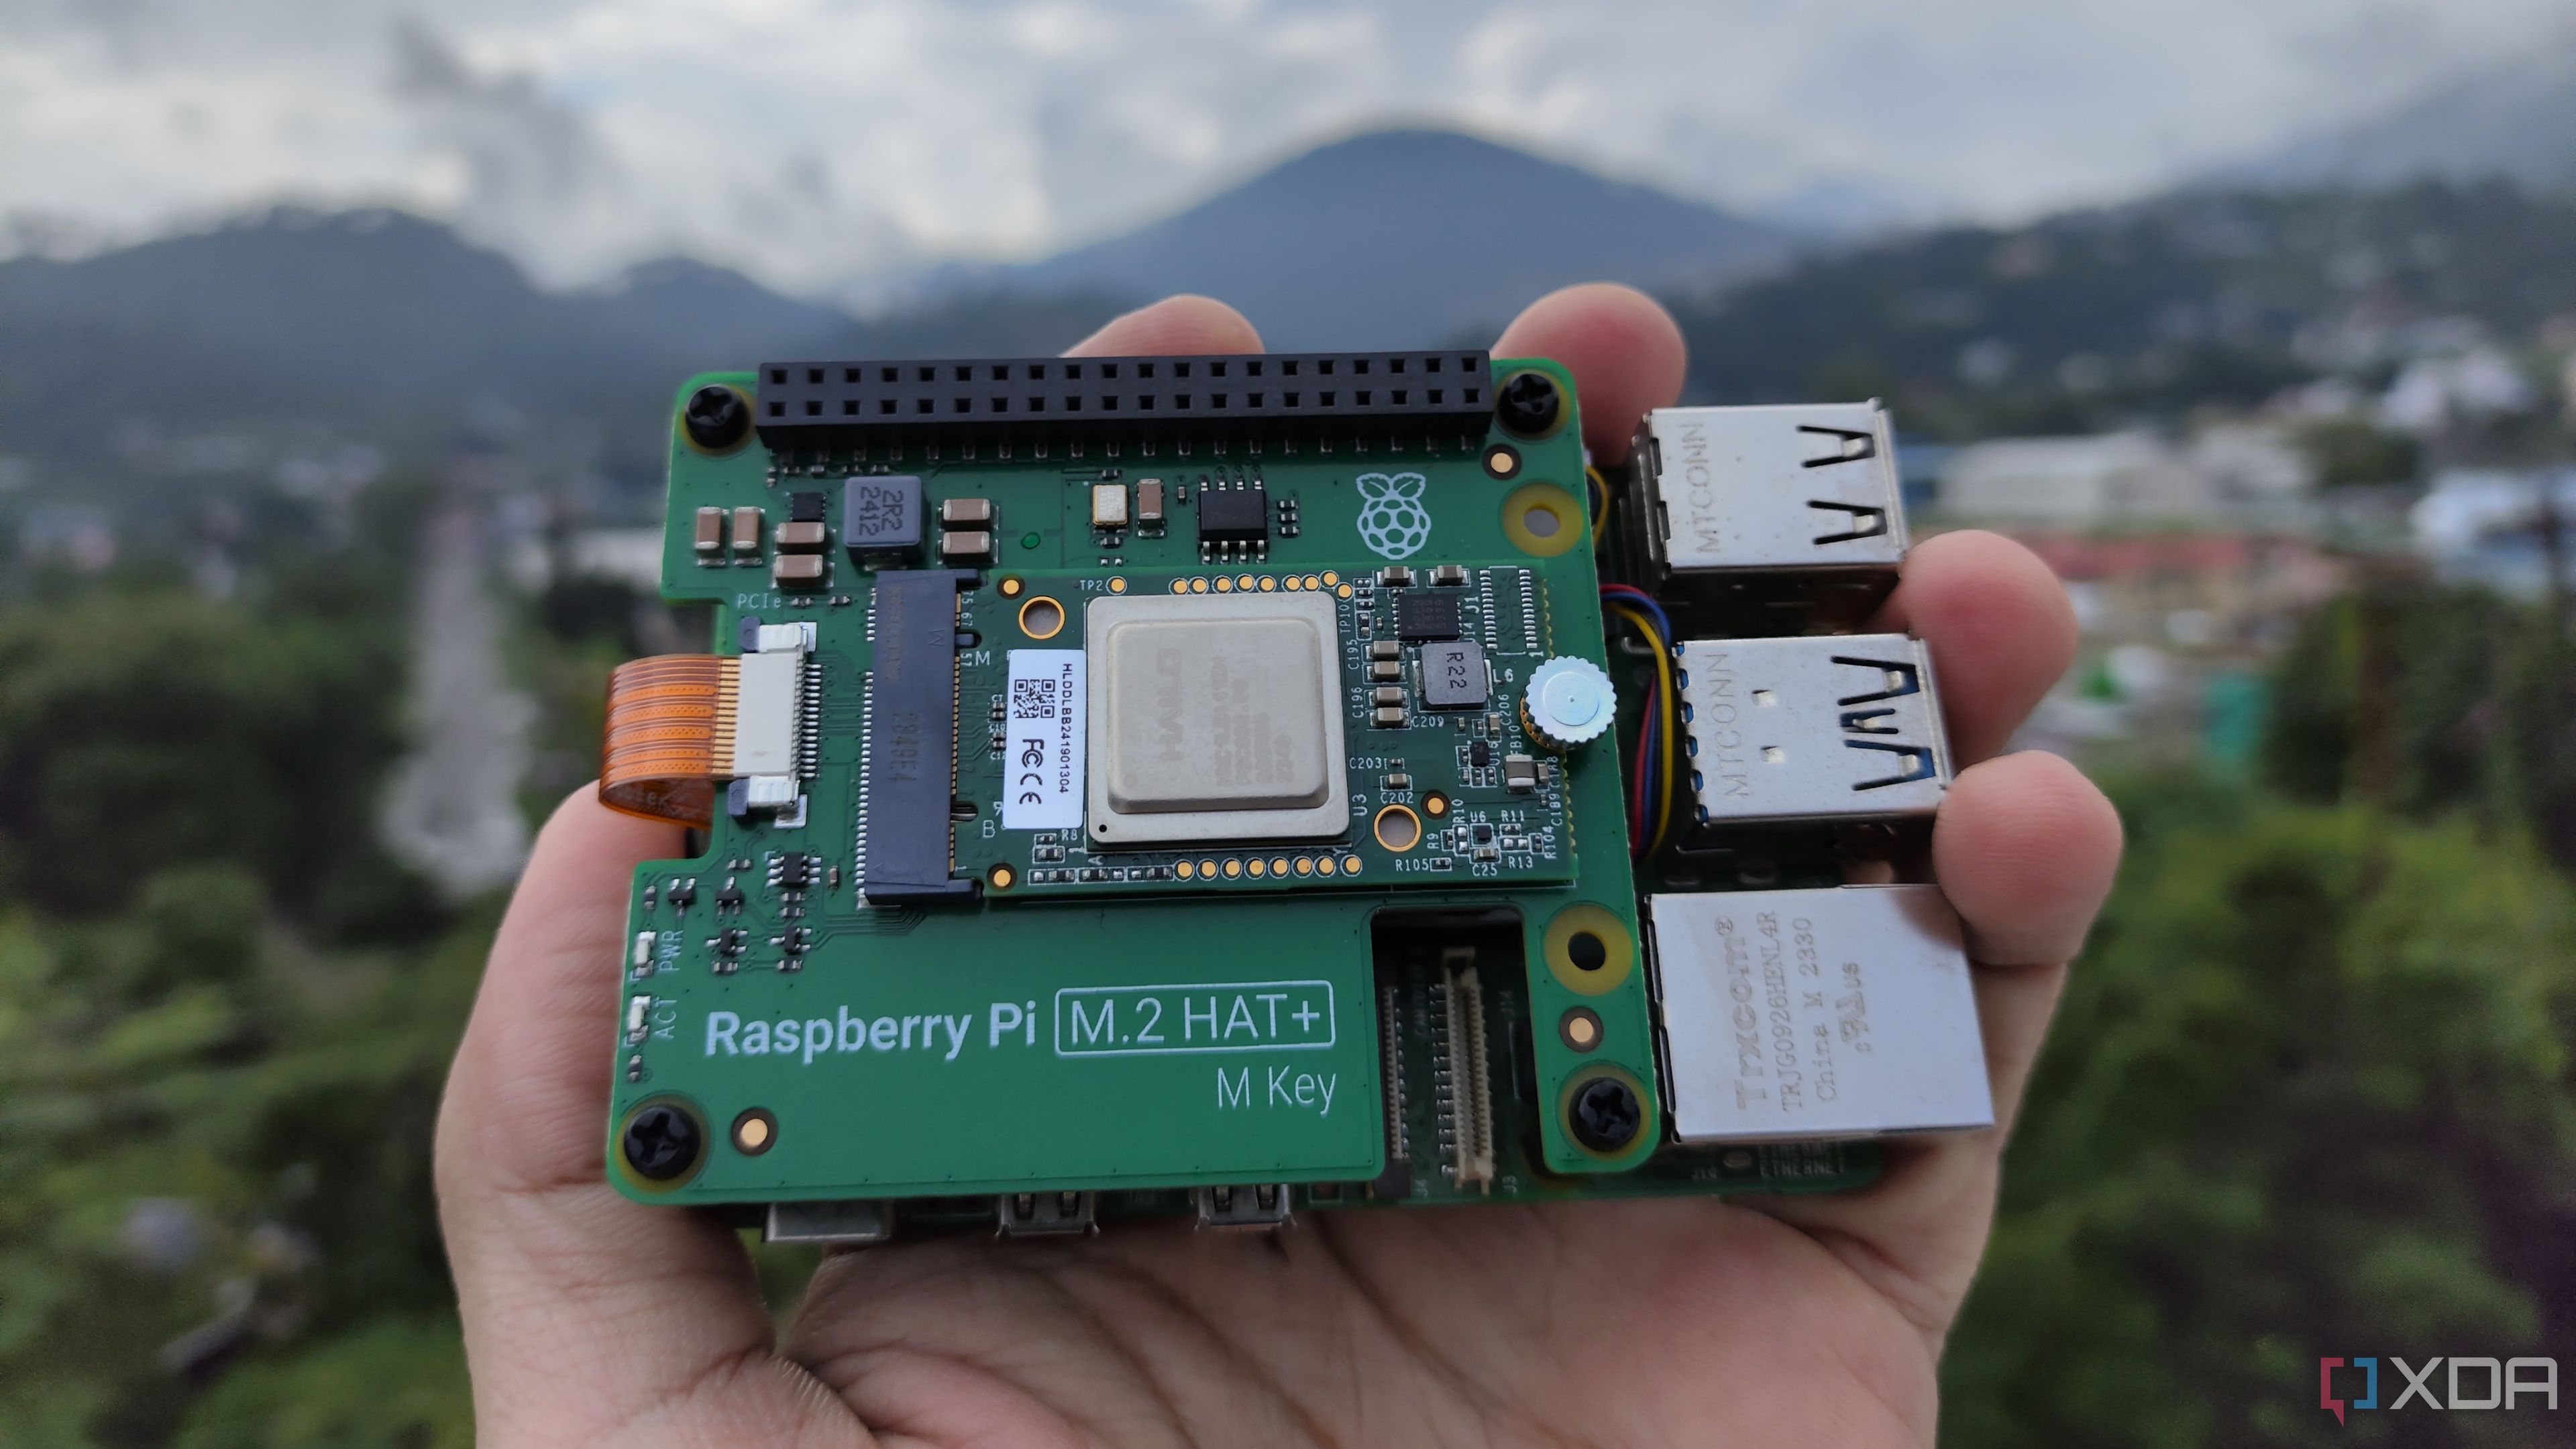
What is Raspberry Pi?
The Raspberry Pi is a small, affordable computer that is often used for educational purposes, hobbyist projects, and even professional applications. It runs on various operating systems, including Linux, and features various connectivity options. Its flexibility and low power consumption make it a popular choice among tech enthusiasts.
Understanding Mobile Proxies
Mobile proxies are an essential tool for many online activities. They function by routing your internet traffic through a mobile device’s IP address, providing you with several advantages:
- Anonymity: Mobile proxies mask your original IP address, helping you maintain privacy while browsing or scraping websites.
- Location Spoofing: With mobile proxies, you can appear to be accessing the internet from different locations, which is useful for geo-restricted content.
- Enhanced Performance: Mobile proxies are less likely to be blocked by websites, thanks to their residential nature.
- Managing Multiple Accounts: They allow users to manage multiple accounts on social media or other platforms without being flagged for suspicious activity.
Why Choose Raspberry Pi for Mobile Proxies?
Raspberry Pi offers an ideal solution for those looking to create their own mobile proxies. Here are some key reasons:
- Cost-Effective: Raspberry Pi devices are inexpensive compared to traditional proxy hosting services.
- Customizability: You have full control over the device, allowing you to tailor configurations based on your specific needs.
- Portability: Its small size and lightweight nature mean you can carry it anywhere, making mobile proxy use more accessible.
- Community and Resources: The Raspberry Pi community is vast and provides numerous tutorials, forums, and resources for troubleshooting and enhancement.
Setting Up Raspberry Pi as a Mobile Proxy
Setting up your Raspberry Pi as a mobile proxy involves several steps. You will need:
- A Raspberry Pi device, preferably Raspberry Pi 3 or later for better performance.
- A microSD card with Raspberry Pi OS installed.
- An internet connection, preferably through a mobile dongle or Wi-Fi.
Step 1: Setting up Raspberry Pi OS
Ensure your Raspberry Pi is set up and running the Raspberry Pi OS. You can download the latest version from the official Raspberry Pi website and burn it onto the microSD card. Once installed, power up your Raspberry Pi and complete the initial configuration, including Wi-Fi settings and updates.
Step 2: Installing Necessary Software
The next step involves installing software that will enable Raspberry Pi to act as a proxy. You can use Squid, a well-regarded proxy server application. To install Squid, open a terminal and execute:
sudo apt-get install squidStep 3: Configuring Squid
Once Squid is installed, you need to configure it. Open the configuration file with:
sudo nano /etc/squid/squid.confIn this configuration file, you can set up access control lists, change port settings, and configure various other options. It’s advisable to define specific IP addresses that can access your proxy to ensure security. After making the necessary changes, save and exit the file.
Step 4: Starting the Squid Proxy Server
After configuring Squid, you can start the proxy service with the following command:
sudo service squid startTo check if Squid is running correctly, you can use:
sudo service squid statusStep 5: Setting up Mobile Data Connection
If you’re using a mobile dongle, ensure that it is properly configured to connect to the mobile network. You can set up a mobile data connection through the Raspberry Pi settings or using the terminal.
Configuring Client Devices
Once your Raspberry Pi is set up as a mobile proxy, you can configure your client devices to connect to it:
- Go to the network settings on your device.
- Select ‘Manual Proxy Configuration’.
- Enter the IP address of your Raspberry Pi and the port number configured in Squid (default is usually 3128).
Maintenance and Best Practices
Maintaining your Raspberry Pi proxy is crucial for its optimal performance:
- Regular Updates: Keep the Raspberry Pi and Squid software updated to ensure security and performance.
- Monitor Traffic: Use tools like
iftoporvnstatto monitor the network traffic and ensure everything is working as expected. - Security Measures: Regularly review your access control lists in Squid and change settings as needed to ensure that only authorized devices can connect to the proxy.
Conclusion
Using a Raspberry Pi as a mobile proxy is a practical, cost-effective solution for managing your internet activities with increased privacy and control. The process may require some initial setup and technical knowledge, but the benefits are well worth the effort. You’ll gain a deeper understanding of proxy management while enjoying the advantages of anonymity, performance optimization, and versatility.
For a detailed guide on the Raspberry Pi’s capabilities with mobile proxies, feel free to explore further resources online or check out this informative link:
Raspberry Pi for mobile proxies — what is this device? https://crazyfb.shop/en/page/malina-dlya-mobilnyh-proksi-chto-eto-za-ustroystvo.